
Astro Turf Installation: A Complete Guide for Soil and Concrete Surfaces
[orbital_toc]
Artificial turf has become a popular solution for homeowners, businesses, and recreational spaces that want a lush, green look without the high maintenance of natural grass. Whether you’re covering a backyard, a playground, or even a rooftop, Astro Turf installation can transform your space into a durable and visually appealing surface.
In this guide, I’ll walk you through the two primary installation methods — on soil and on concrete — while sharing pro tips I’ve learned firsthand.
Why Choose Astro Turf for Your Lawn or Project?
Benefits of Artificial Turf vs. Natural Grass
Low maintenance: No mowing, watering, or fertilizing.
Durability: Withstands heavy foot traffic, making it ideal for kids and pets.
All-weather appeal: Stays green year-round, even in dry or cold climates.
Cost-effective over time: Higher upfront cost but lower long-term maintenance expenses.
Common Applications
Artificial turf isn’t just for sports fields anymore. It’s widely used in:
Residential lawns and gardens
Playgrounds and pet areas
Commercial landscapes
Rooftop terraces and patios
Tools and Materials You’ll Need
Essential Tools
Plate compactor (for soil installations)
Utility knife or turf scissors
Drop spreader for infill
Power broom or stiff-bristled push broom
Landscape staples, nails, or U-nails
Base Materials and Infill Options
Crushed rock, decomposed granite, or road base
Leveling sand or granite fines
Weed barrier fabric (optional, especially if pets will use the area)
Silica sand or specialized infill products
Outdoor adhesive (for concrete installations)
How to Install Astro Turf on Soil Areas
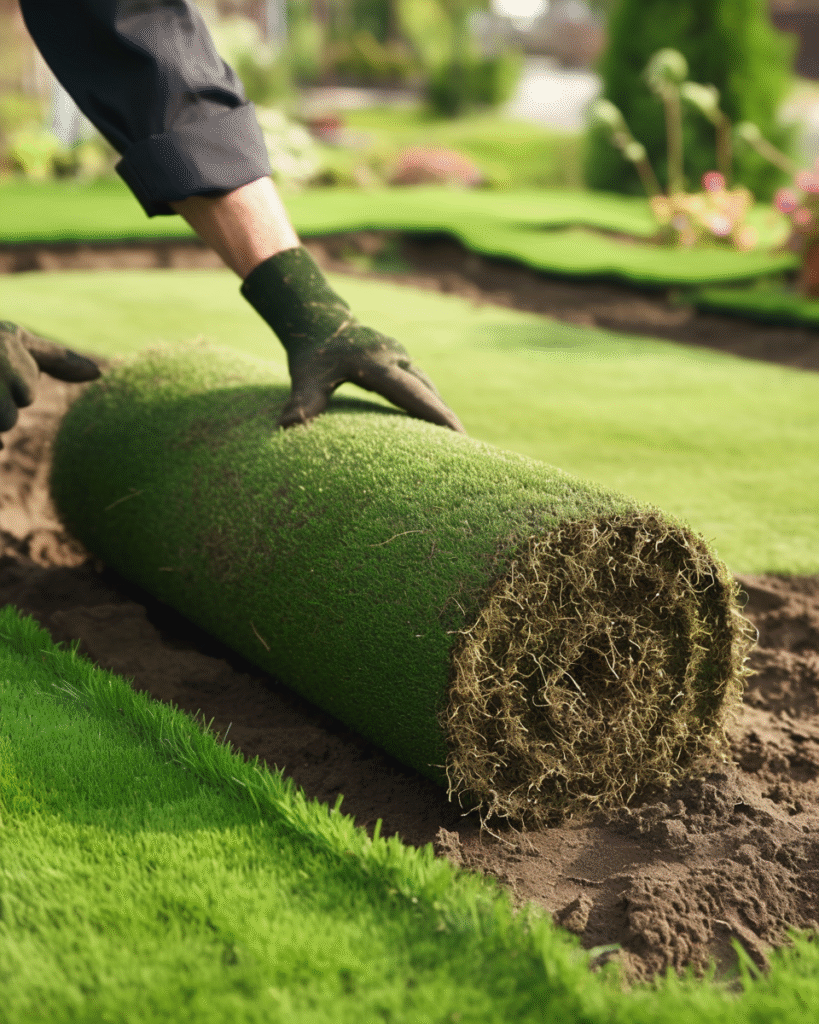
Installing turf on soil requires careful preparation to ensure stability, drainage, and longevity. Here’s the process step by step:
Step 1 – Excavation and Grading
Start by removing grass, weeds, roots, and debris. Excavate 3–4 inches deep to make room for the sub-base. Grade the soil to create a slight slope (1–2%) away from buildings to aid drainage
Step 2 – Weed Control and Barrier Installation
Apply a weed killer two weeks beforehand. For extra protection, roll out a weed barrier fabric, overlapping seams by 6–12 inches and securing with staples. (Tip: If pets will use the area, you may skip the barrier to avoid odor buildup.)
Step 3 – Sub-base Preparation and Compaction
Spread 3–4 inches of crushed rock or decomposed granite. Compact the base with a plate compactor until it reaches about 90% density. This step prevents shifting and unevenness over time.
Step 4 – Leveling Sand and Final Base Smoothing
Spread a thin layer (about 15 mm) of sharp sand or granite fines, then compact again to create a smooth surface.
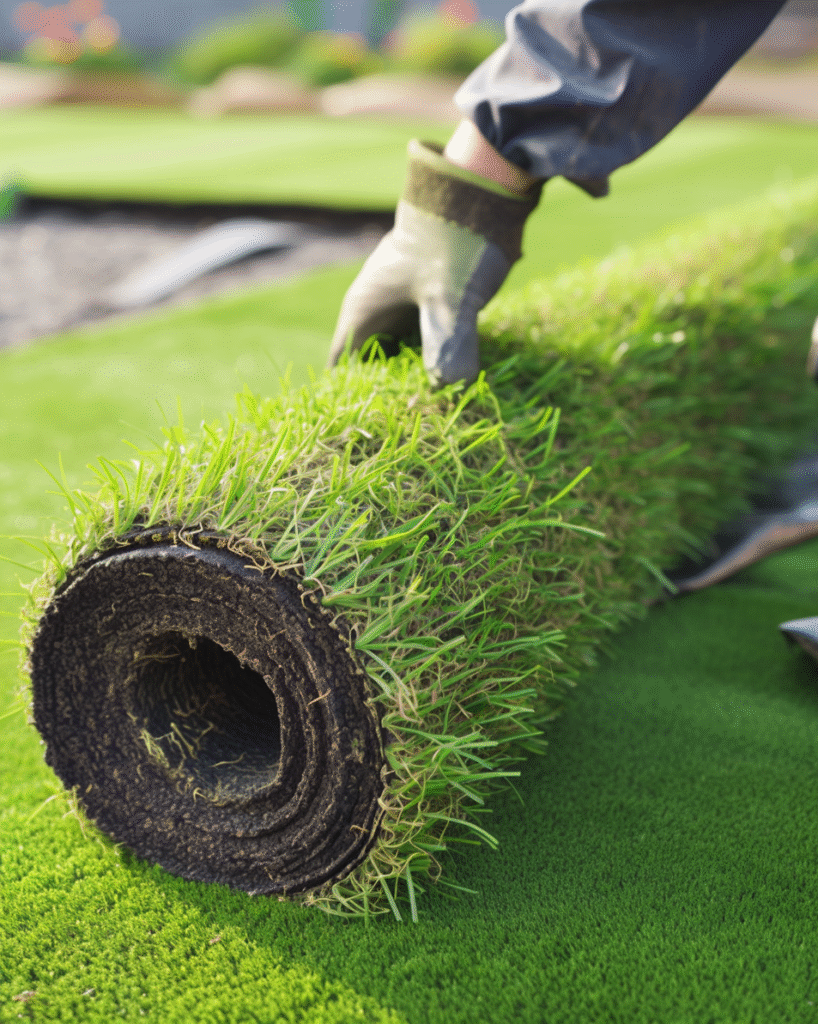
Step 5 – Rolling Out, Trimming, and Seaming the Turf
Unroll the turf and let it acclimate in the sun to relax fibers and reduce wrinkles. Align all pieces so the grain runs in the same direction for a consistent look. Trim excess turf from the back with a utility knife for precision. Use seaming tape and adhesive (or U-nails) to join sections.
Step 6 – Anchoring the Perimeter Securely
Secure the perimeter with 5–6 inch galvanized nails or landscaping spikes, spaced every 4–6 inches. Tuck the edges neatly for a professional finish.
Step 7 – Adding Infill and Grooming
Spread silica sand infill evenly with a drop spreader. Use a power broom or stiff push broom to brush the infill into the turf and lift the blades upright.
How to Install Astro Turf on Concrete Surfaces
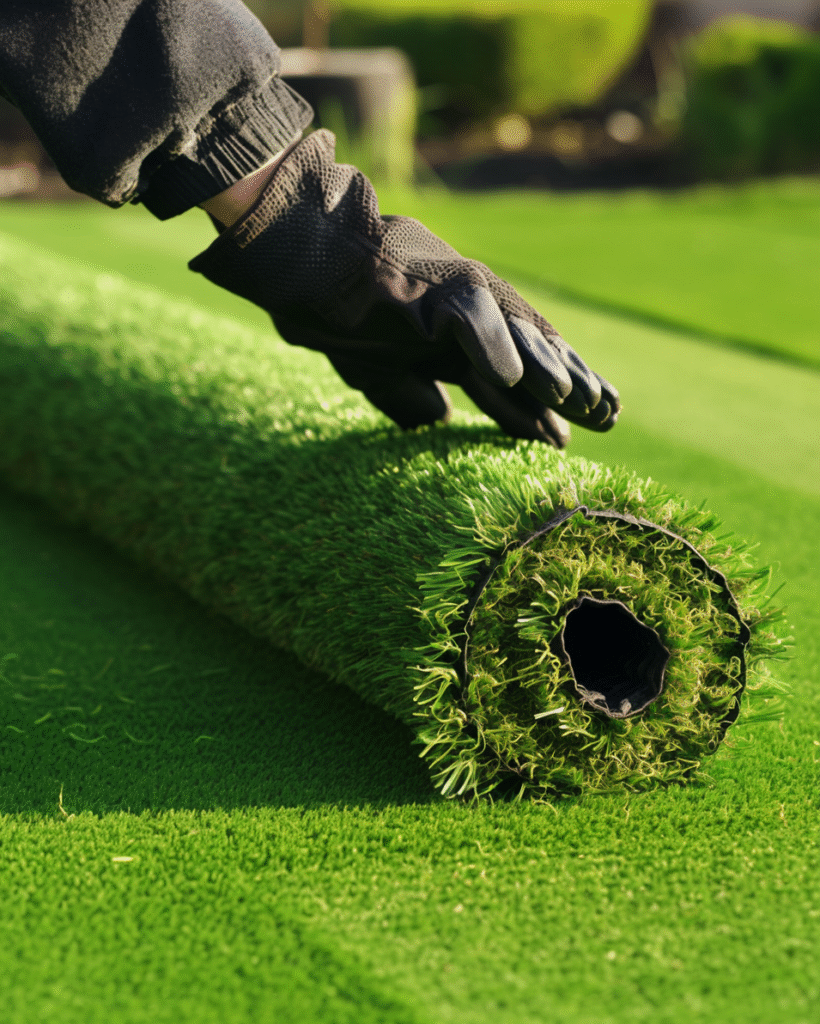
If you’re covering a patio, driveway, or rooftop, turf installation is slightly different since the base is already solid.
Step 1 – Preparing the Concrete Surface
Clean thoroughly with a power washer or broom to remove dust, dirt, and debris.
Step 2 – Ensuring Proper Drainage
If the concrete has no slope, drill drainage holes to prevent water pooling and mildew.
Step 3 – Adding Underlayment for Comfort and Softness
Install a foam shock pad or drainage grid for cushioning and better drainage. Tape seams together to create a continuous layer
Step 4 – Rolling, Trimming, and Securing the Turf with Adhesive
Unroll the turf, let it acclimate in the sun, and position it carefully. Trim excess turf, leaving a small overlap. Apply outdoor adhesive around the perimeter and seams, pressing the turf firmly into place. Use weights while it cures
Step 4 – Infill Application and Grooming
Spread silica sand or another suitable infill, then brush against the grain with a broom to keep blades upright.
Pro Tips and Common Mistakes to Avoid
Drainage Issues
Poor drainage can cause odors, mildew, and turf damage. Always grade soil bases or drill holes in concrete when necessary.
Why Compaction Matters
Failing to compact the sub-base properly can result in dips and shifting over time. Aim for at least 90% density when compacting.
Aligning Turf Grain
Always check the turf’s grain direction. Misaligned pieces will look patchy and unnatural.
Special Considerations for Pets
Skip the weed barrier if pets will frequently use the area. It can trap odors, making cleaning more difficult.
Frequently Asked Questions About Astro Turf Installation.
Can you lay Astro Turf directly on soil?
No. Without a stable sub-base, turf will shift and drainage will suffer. Always prepare a compacted base layer.
Do you need a weed barrier?
Yes, unless pets will use the area. In that case, skip it to avoid odor buildup.
How long does Astro Turf last?
High-quality turf typically lasts 10–15 years, depending on usage and maintenance.
Which infill is best for my project?
Silica sand is the most common, but specialized infills are available for pets, playgrounds, and sports areas.
Final Thoughts: Getting the Best Out of Your Astro Turf.
Astro Turf installation is a rewarding project that gives you a lush, low-maintenance lawn without the headaches of natural grass. The key is proper preparation — whether it’s compacting the soil base or adding underlayment on concrete.
In my own experience, taking time to compact the base properly and align the turf grain makes the difference between a lawn that looks “fake” and one that looks seamless natural. With the right materials, tools, and attention to detail, your new turf will look great for years to come.